Figma has become very quickly one of the most popular design tools for UI/UX designers due to its versatility, ease of use, and cloud-based collaboration. Even if you are working on different wireframes, prototypes, and high-fidelity designs, Figma can offer a complex set of tools to allow designers to work seamlessly.
But when more projects are coming and are growing in complexity, it’s important to find more and more ways to speed up the design process to finish them all.
In this article, we will explore 10 practical tips and tricks that can help any designer speed the design process without having to compromise the overall quality. These tips and tricks are meant to encourage any UI/UX designer to meet their deadline while having design efficiency.
Figma represents a cloud-based design tool that is usually used to create and test different types of websites and apps. It indeed provides some tools and functionalities similar to those of other competitors on the market, like Adobe XD or Sketch. Still, for Figma, the most important differentiator is team collaboration in real-time.
The thing that attracts the most users is the fact that Figma is free to start, unlike other tools in the Adobe Suite. Because of its free entry and low-cost design, Figma has become one of the most popular tools for UI/UX designers.
The design efficiency in Figma doesn’t mean that a UI/UX designer should rush through the task. It means working smarter by making the most of all the platform’s features. Finding the best shortcuts to optimize your design process is important because Figma has various ways to save valuable time.
Figma is an indispensable tool for any UI/UX designer because this design tool has managed to develop the design market by bringing increased design efficiency with each update. Let’s review some tips about how to speed up the entire design process without losing its quality.
The Auto Layout feature inspires the UI/UX designers to create a custom frame that is customized for specific needs.
All you need to do is use the shortcut SHIFT+ A to initiate the dynamic parent frame for elements to inherit their properties automatically. For example, if you are designing a button, it is possible to customize the padding, the text alignment, the colors, spacing, and also the corner roundness. However, once the Auto Layout is saved, this design can be easily replicated as often as necessary.
But remember that Auto Layout was not created only to improve productivity but also to be a transformative tool that can create lists, dialogue boxes, or groups of images in a beat.
Using different components and variants in the Figma tool is a powerful method to simplify the designing process, mostly when working on some projects with recurring elements.
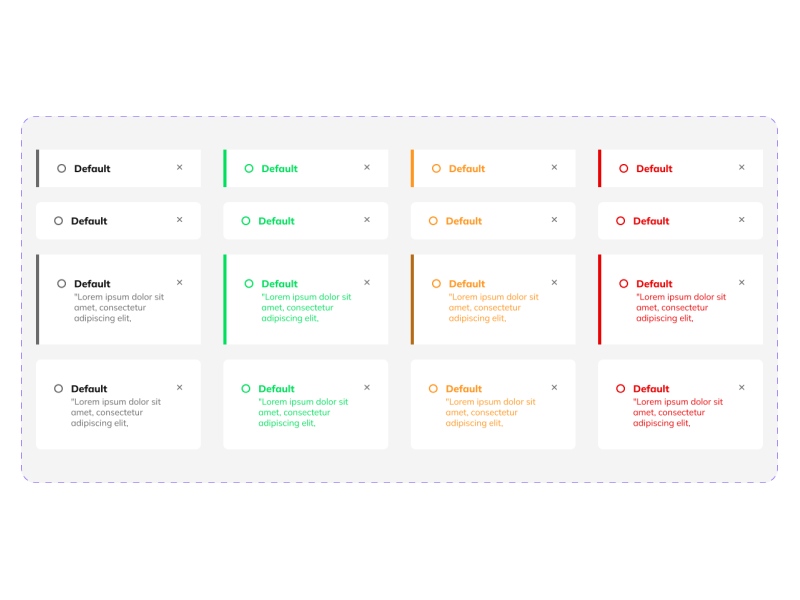
Components allow users to create various reusable elements like buttons, icons, and headers to be updated worldwide. So, instead of wasting time manually changing every sample of a button after a style change, UI/UX designers can edit the big component, and all samples will update automatically. This feature probably saves the most time by increasing productivity in the design process.
Also, variants can take components to the next level because they allow designers to group various states of an element, such as hover, active, or disabled, in just a single unit. This can significantly speed up and simplify the design system, making it easier to control several versions of the same element.
3. Use some keyboard shortcuts for increased productivity
It’s important for any designer to not only rely on the mouse's power and ignore the keyboard completely, which can offer more opportunities. Here are some shortcuts that every UI/UX designer must know:
CTRL+OPT+C - this one is used to copy some object attributes such as the fills or typography style
CTRL+OPT+V This shortcut is used to paste those attributes onto different objects
CTRL+L - this one allows users to copy the link from a Figma file to share and embed much more quickly.
CTRL+ D - allows users to duplicate objects very quickly
ALT+ Drag - allows duplicate elements and move them at the same time
CTRL+G - is used mostly to group layers
CTRL+/ - this one is used to search for any tool that might be in action
4. Enhance the layouts with smart grids
In every design project, grids are used to make sure that visual harmony is present. The Figma tool can simplify this task by using Smart selection and Tidy features.
So, you can select a group that is made of identical items and click the grid icon at the bottom right to watch how the element will automatically align. After that, is necessary to adjust the pink lines for spacing to take advantage of the central circle to rearrange the grid.
All the Figma plugins are priceless tools that increase the speed and productivity of a project while enhancing the workflow. A wide range of plugins available that a UI/UX designer can use to find quickly various solutions for those common design problems to allow its users to focus more on the creativity process and less on the overall manual work.
For example, The Icon Set offers easy access to a vast library of icons, saving you time searching for the perfect icons for your project. With many styles of icons to choose from, The Icon Set is the perfect library of icons for your unlimited creativity.
Also, Unsplash represents a tool for high-quality free images that can be introduced directly into your project. If you are looking for user flow creation, the AutoFlow plugin can automatically generate connections between frames to enhance wireframing.
6. Use the Real-Time Color Selection with Eyedropper
The process of choosing the right color palette for your design might be a difficult one. The Figma Eyedropper tool makes this process seamless by selecting a shape, pressing “i” and clicking on any image from your canvas. After that, you will observe a color preview to make sure that you pick the color that you are looking for.
7. Use Templates and UI Kits
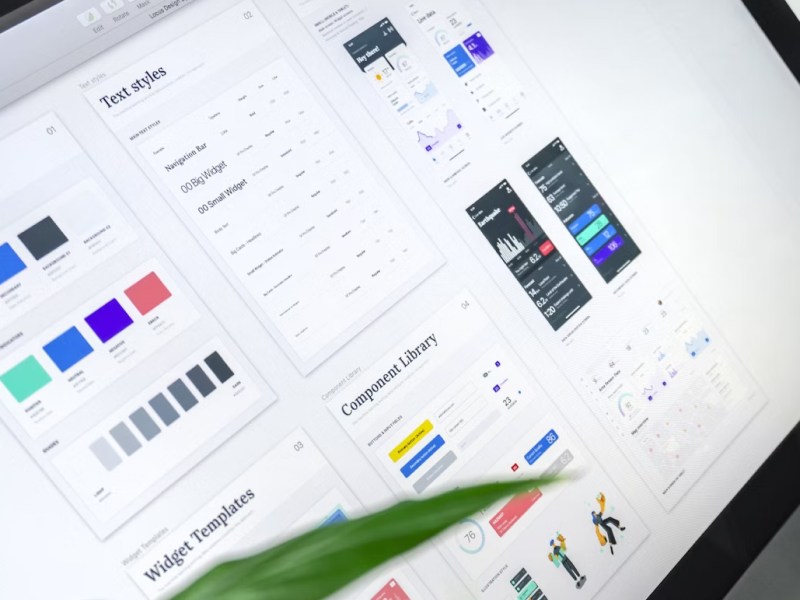
Using some pre-made templates and UI Kits can significantly impact productivity and reduce the time it takes to start a project in Figma from scratch. Instead of building every element, various templates provide a solid base for your projects. Also, many UI Kits come with pre-designed components like buttons and navigation menus, all aligned with popular design systems.
For example, every UI/UX designer can use the Uinkits design system. Uinkits represents an all-in-one Figma Design system and UI Kits with mobile, web, and dashboard elements for your projects.
By taking advantage of these resources, it is possible to jumpstart your projects to ensure consistency while focusing on various design aspects.
8. Change the nudge amount to 8px
It’s important to use a base unit ox 8px because it can be helpful for sizing and spacing elements. To make it easier for you and your team to design efficiently, change the “nudge amount” in the Figma tool from 10px to 8px.
So, after you do this, every time you need to move or resize a specific object it will be able to align in 8x increments.
The shortcut for the nudge is the SHIFT+ arrow.
If you don’t know how to adjust the nudge amount, just go to Menu > Preferences > Nudge amount> and change it to 8px.
9. Edit the spacing collectively
It’s important to align many objects and correct the spacing, but sometimes, this process can be time-consuming. But you can adjust these simultaneously with the “smart selection” and “tidy” options.
Also, similar objects such as frames, groups, and shapes can be arranged automatically in a grid or list.
To edit in bulk the spacing you just need to select the similar objects > select the grid/list symbol > and move the spacing handle up or down and left/right until you find the perfect spacing in your project.
If you need to swap an object's placement, select similar objects > select the dot inside of a single object > and drag and drop that object into its new location.
10. Collaborate in Real-time with team members
Figma's real-time collaboration feature can transform how teams work together, making the design process much more manageable. It makes a significant difference when a team has co-editing capabilities because more team members can work simultaneously on the same file to speed up the process.
This will eliminate the need to send files and drafts about the progress of the design because now, team members can see all the changes in real-time.
By implementing these 10 tips and tricks, every UI/UX designer can significantly enhance their workflow in Figma, allowing them to focus on significant things such as creativity and innovation.
It’s important to consider these tips and tricks in your next design process to ensure that you will have a quality design overall and deliver it faster, allowing you to enhance your skills and portfolio.
We at uinkits understand the importance of great user experiences and creating amazing UI designs. That’s why we’ve developed a Figma UI Kit with design components that include these essential UI elements that enable you to design intuitive and user-friendly interfaces effortlessly.
“You press the button, we do the rest.” – Kodak.
Inspired by this iconic tagline from Kodak, we believe in simplifying the design process for you. Our Figma UI Kit, uinkits, is a complete design system with UI components that allows you, as a UI UX designer, to create your products as quickly as pressing a button.
Our design system includes UI components, icons, variables, cards, buttons and everything you need for your design process. All you have to do is take your UI design component needed, and you’re ready to use it in your designs!


